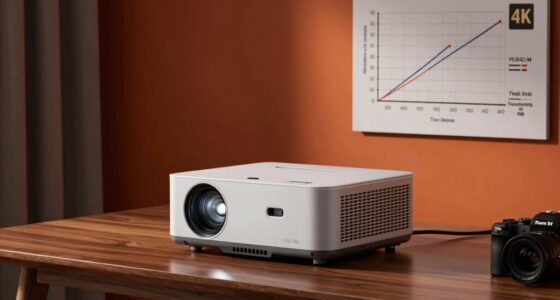

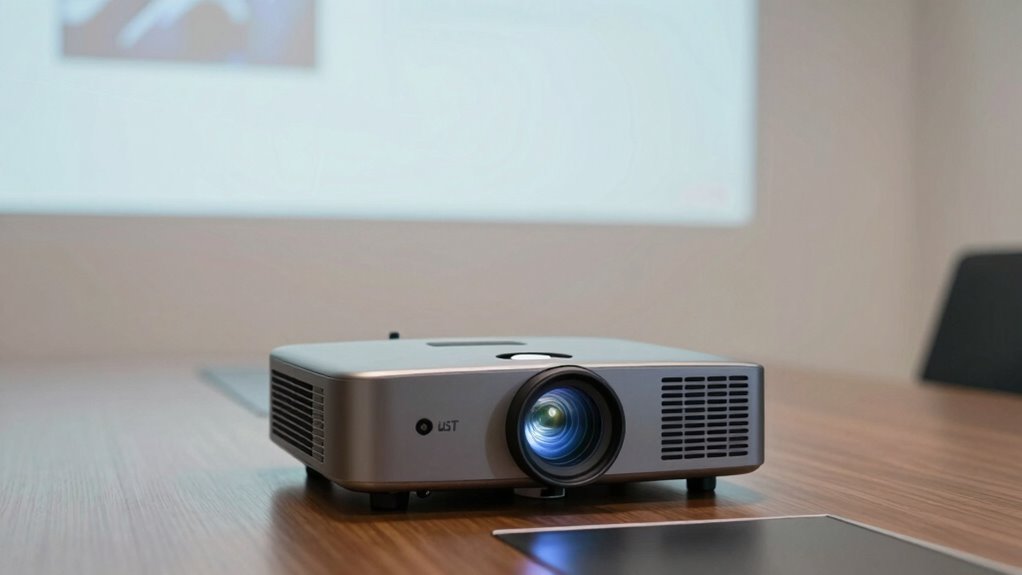
Proper placement of your UST projector is essential for a sharp, bright picture. Keep the projector at the right distance from the wall—too close or too far causes blurriness or dim images. Choose a flat, matte wall and avoid glossy or textured surfaces that distort the image. Correct alignment and keystone correction improve focus and clarity. If your picture still isn’t perfect, exploring these setup tips can help you get the best results.
Key Takeaways
- Proper placement ensures optimal focus, alignment, and image quality, preventing distortion and keystone effects.
- Maintain the correct projector-to-screen distance to achieve the desired image size and clarity.
- Mount the projector at the proper height and angle for precise alignment and minimal distortion.
- Avoid textured, glossy, or dark wall surfaces that can cause glare, reduce contrast, and impair image sharpness.
- Control ambient lighting and choose appropriate wall finishes to maximize brightness, contrast, and overall picture quality.
Why Proper Placement Is Key to UST Projector Quality

Proper placement is essential when setting up a UST projector because it directly affects image quality and alignment. When you position your projector correctly, you ensure maximum screen calibration, which results in a sharper, clearer picture. Poor placement can cause distortion, keystone effects, or uneven focus, making your viewing experience less enjoyable. Regular projector maintenance, including cleaning the lens and checking connections, also depends on proper placement to prevent dust buildup and overheating. Accurate positioning minimizes the need for frequent adjustments and helps maintain consistent image quality over time. Additionally, understanding the mechanics of projection can help optimize placement for better performance. Recognizing the importance of projection geometry can further assist in achieving optimal image alignment and clarity. Remember, a well-placed UST projector not only simplifies calibration but also prolongs its lifespan, delivering the best possible performance with less hassle.
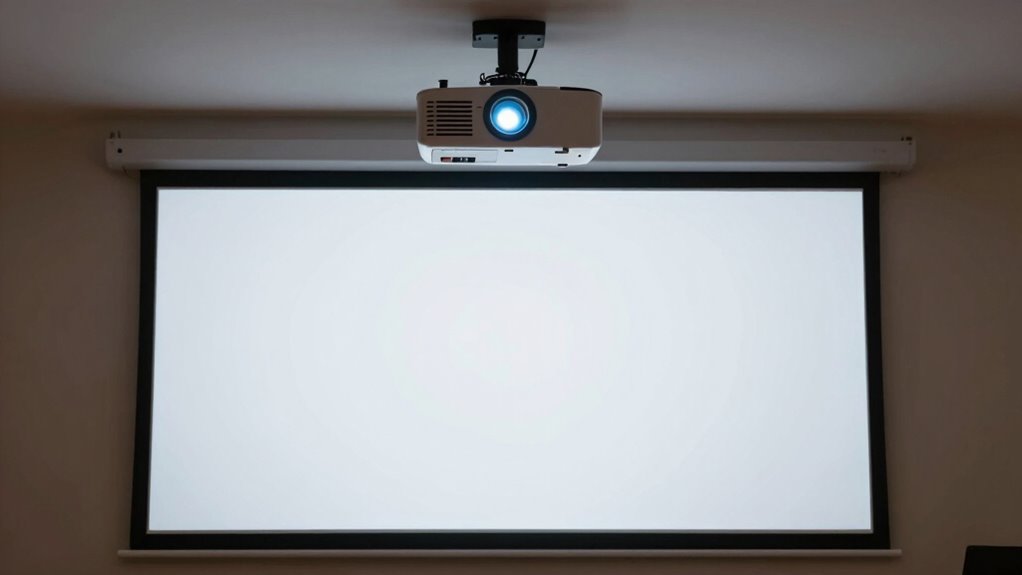
How to Find the Best Distance and Screen Size for Your UST Projector

Finding the right distance and screen size for your UST projector is essential to achieving a clear, immersive image. To optimize performance, consider your mounting options carefully, as placement affects image quality. Use these steps:
Optimizing UST projector placement ensures sharp, immersive images through proper distance, size, and calibration.
- Measure your room’s dimensions to determine the ideal projector-to-screen distance.
- Select a screen size compatible with your space and desired viewing experience.
- Adjust the projector’s mounting height and angle for proper alignment.
- Perform projector calibration to fine-tune focus and keystone correction, ensuring sharp, distortion-free images.
- Remember that image quality can be significantly impacted by proper placement and calibration, so take the time to optimize these factors.
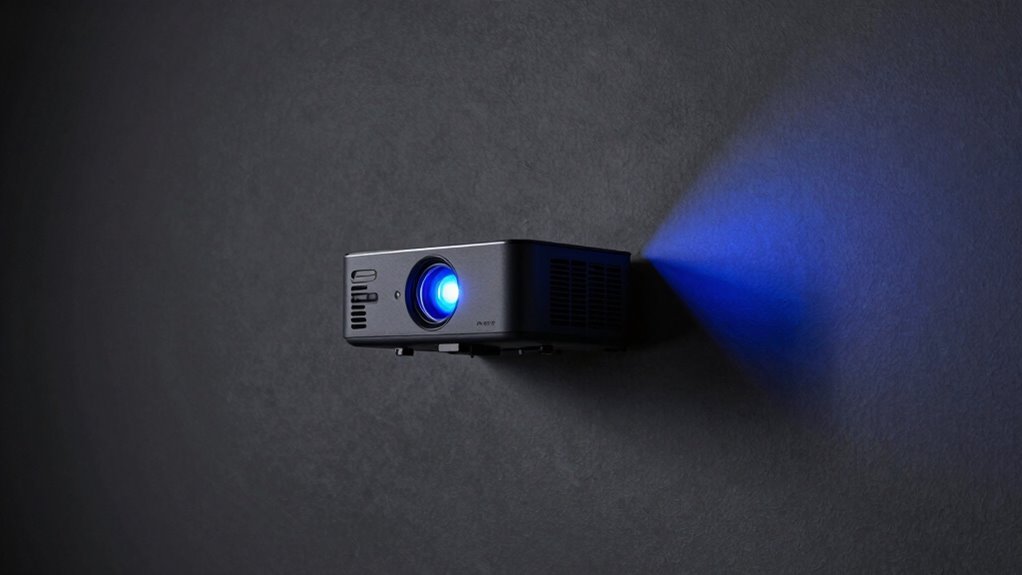
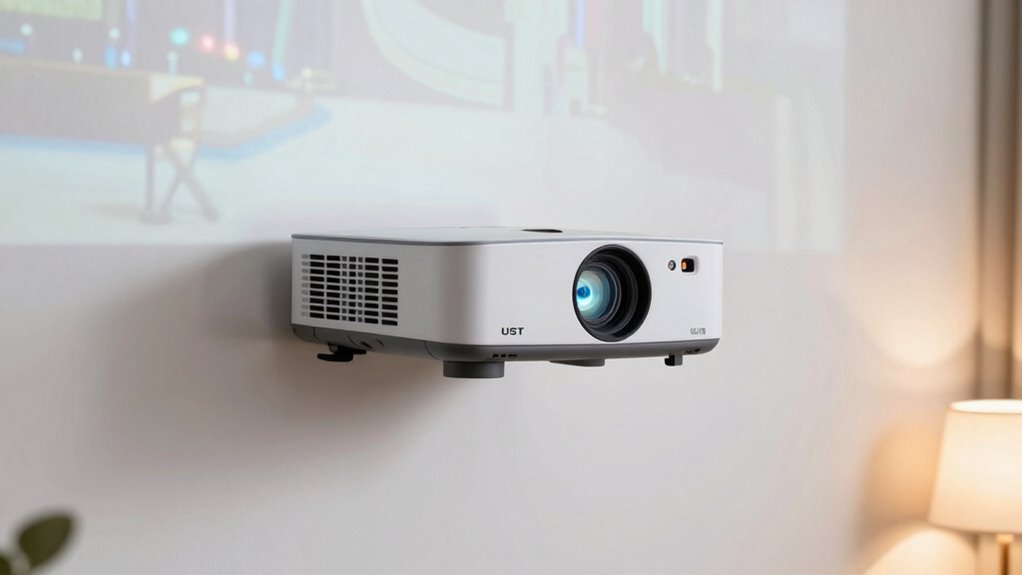
Positioning Your UST Projector for Brightest, Most Vivid Images

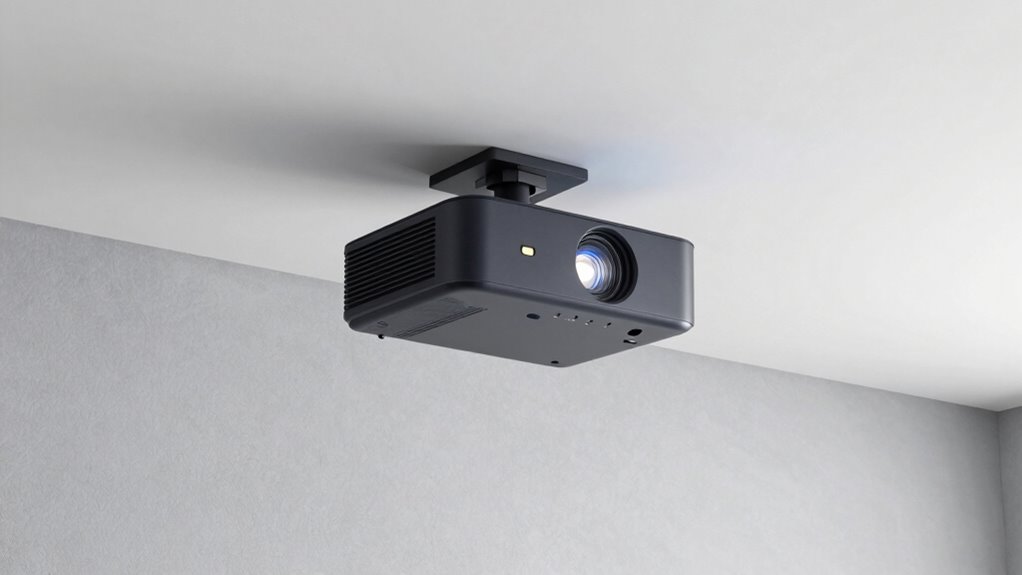
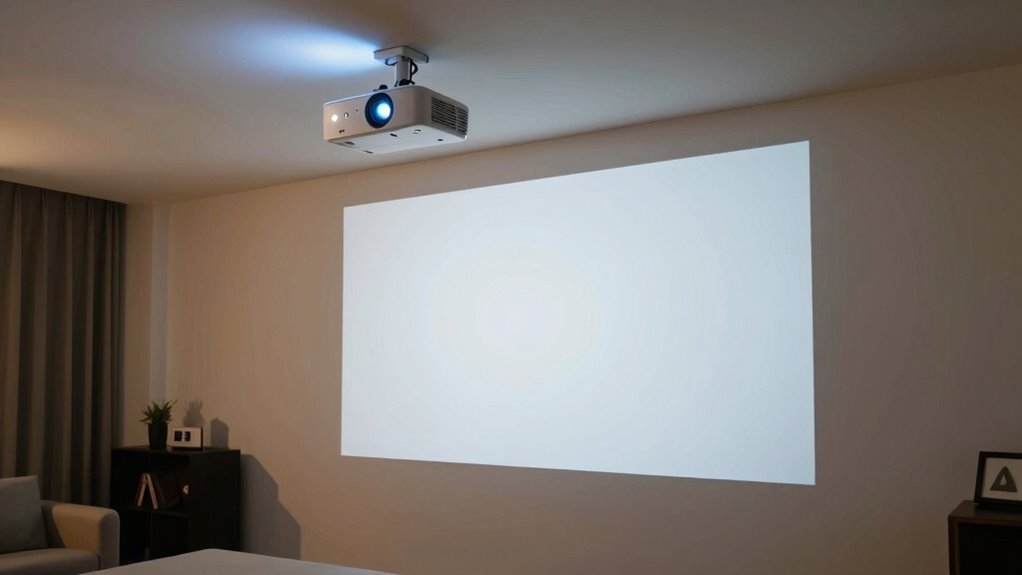
Positioning your UST projector correctly can dramatically enhance the brightness and vividness of your images. Your choice of mounting options plays a vital role; wall mounts, tabletop setups, or ceiling placement all influence image quality. Ceiling placement is often the most stable and unobtrusive option, guaranteeing the projector is aligned precisely with the screen to avoid distortions and maintain ideal brightness. Proper positioning minimizes shadows and ambient light interference, resulting in brighter, more vivid images. Avoid placing the projector too far from the screen or at awkward angles, as this can reduce image clarity and color vibrancy. Additionally, proper alignment techniques ensure that the projector’s image remains sharp and undistorted. A well-chosen mounting solution and strategic ceiling placement are key to achieving the best visual performance from your UST projector. Maintaining accurate projector alignment can further optimize image quality and prevent common setup issues, especially when considering image calibration for optimal color and brightness. Ensuring consistent image quality depends on careful setup and regular adjustments to keep your projector performing at its best, including monitoring settings adjustments to fine-tune performance over time.
Adjusting Setup for Room Size and Lighting Conditions
Adjusting your UST projector setup to match your room size and lighting conditions is essential for ideal image quality. Start by choosing the right mounting options to optimize placement and minimize shadows. Adjust the projector’s brightness settings to compensate for ambient light, especially in well-lit rooms. Verify your audio integration is seamless by connecting external speakers if needed, since room size affects sound quality. Consider the room’s size when positioning your projector to avoid image distortion or loss of clarity. Proper installation techniques and secure connections can also prevent image disruptions and ensure a reliable setup. Use adjustable mounts to fine-tune the projection angle, ensuring a level picture. Additionally, paying attention to cabling solutions can help reduce clutter and improve overall stability. Being aware of room acoustics can further enhance your audio experience and prevent sound quality issues. Recognizing the impact of room size on projector performance can help you make better setup decisions. Ensuring optimal projection surface quality also plays a key role in achieving a clear image. By carefully addressing these factors, you’ll achieve the best possible image regardless of room size or lighting, creating an immersive viewing experience.
How Wall Color and Surface Texture Impact Your Projector Image
The color and texture of your walls play a significant role in how your projector image appears. A wall with a light, neutral wall color, like white or beige, helps reflect light evenly, resulting in clearer, brighter images. Darker wall colors, such as deep blues or grays, absorb some of the projected light, reducing brightness and contrast. Surface texture also matters; smooth surfaces provide a sharper image, while rough or textured walls can cause distortion, blurring, or uneven focus. If your wall surface isn’t ideal, consider using a projector screen or applying a matte, neutral-colored paint to improve image quality. Additionally, surface reflectivity and light absorption characteristics can influence overall picture clarity. Paying attention to wall color and surface texture guarantees your projector delivers the best possible picture, maximizing your viewing experience. Incorporating inclusive design principles can help ensure your space is accessible and visually appealing for all viewers. Understanding ambient light control can further enhance image quality by reducing external light interference. To optimize your setup, it’s also essential to consider the visual environment, including factors like room layout and furniture placement, which can impact the viewing experience.
Fine-Tuning Alignment and Keystone Correction for the Perfect Picture
Ensuring your projector is properly aligned can make a significant difference in image quality. Start by adjusting the lens calibration to sharpen the picture. Use keystone correction to fix any distortion caused by off-center placement, but avoid overdoing it, as it can reduce image clarity. Pay attention to ambient light; dim the room if necessary to improve contrast and color accuracy. Here are four tips to perfect your setup:
- Level the projector to prevent skewed images.
- Adjust the lens for focus and sharpness.
- Use keystone correction sparingly for minor adjustments.
- Control ambient light to enhance picture clarity.
Additionally, understanding how projector placement impacts image quality can help you make more informed adjustments.
These steps help optimize your UST projector’s image, ensuring a crisp, clear picture every time.
Common Placement Mistakes That Blur or Dim Your UST Projector Image
Your projector’s image quality depends heavily on proper placement. Choosing the wrong wall surface, having poor room lighting, or setting the projector at the wrong height can cause blurriness or dimness. Avoid these common mistakes to guarantee a clear, vibrant picture. Additionally, ensuring you have the right DIY tools and safety tips can help you make precise adjustments safely and effectively. Remember, understanding the Free Floating concept can also assist in optimizing placement and preventing image distortion.
Incorrect Wall Surface Choice
Choosing the wrong wall surface for your ultra-short-throw (UST) projector can considerably reduce image clarity and brightness. The wall’s material and color directly affect your viewing experience. Here are some common mistakes:
- Using textured or uneven wall surfaces, which cause distortion and blurry images.
- Selecting a wall with too much gloss or sheen, creating glare and reflections.
- Choosing a wall with dark or overly vibrant wall color, diminishing brightness and contrast.
- Picking a wall with busy patterns or artwork, distracting from the projected image.
For ideal results, opt for a flat, matte, and light-colored wall surface. This ensures your projector’s image remains sharp, bright, and true to the intended colors.
Poor Room Lighting Conditions
Poor lighting conditions in the room can considerably impact your UST projector’s image quality, making it appear dim, blurry, or washed out. Excessive ambient lighting reduces contrast and detail, so dim the lights or use blackout curtains whenever possible. Wall color also plays a role; dark or matte finishes absorb light, helping improve picture clarity, while bright or glossy walls reflect light and cause glare. Additionally, choosing appropriate wall finishes can further enhance image visibility and reduce unwanted reflections. Using room environment adjustments, such as controlling light sources and wall surfaces, can significantly optimize your projector’s performance. Incorporating energy-efficient lighting solutions can also minimize interference and improve viewing quality. Being mindful of indoor air quality, such as reducing dust and pollutants, can also contribute to maintaining a cleaner environment that supports better electronics performance and image clarity. Furthermore, maintaining proper ventilation can prevent dust buildup that might affect your projector’s components and overall picture quality.
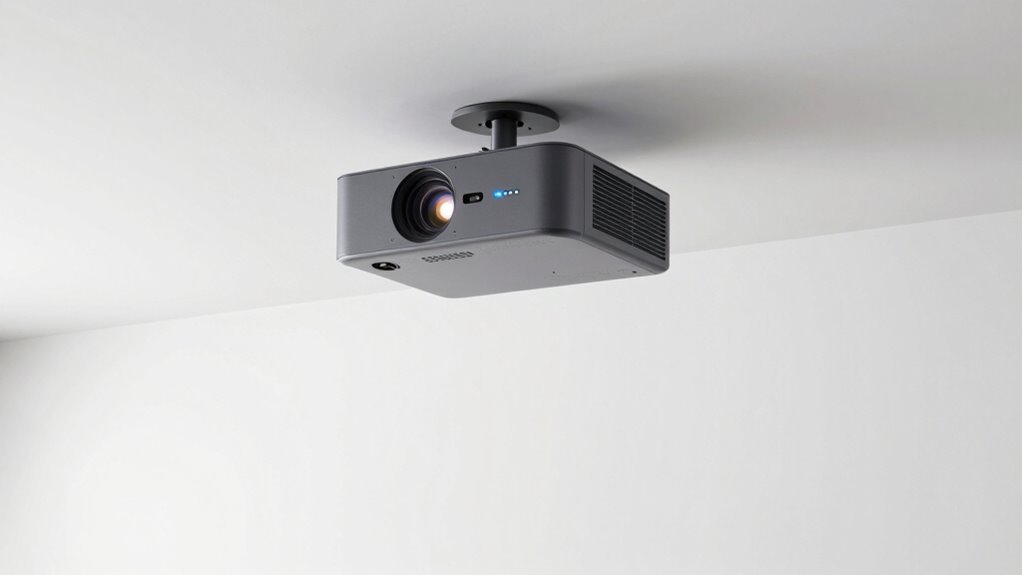
Improper Projector Height
Have you ever noticed how a projector’s image becomes blurry or dim just because it’s not positioned at the right height? Improper projector height can ruin your viewing experience. Here are four common mistakes to avoid:
- Mounting too high or too low, which distorts the image.
- Using the wrong mounting options that don’t align with your room setup.
- Ignoring ceiling installation guidelines, leading to uneven projection.
- Not adjusting the projector’s height after initial setup, causing focus issues.
To prevent these problems, choose the right mounting options and confirm your ceiling installation places the projector at the ideal height. Proper placement guarantees a sharp, bright image, making your viewing experience seamless and enjoyable.
How to Test Your Setup and Confirm Proper Placement
Before you start watching, it’s essential to verify your projector setup to ensure everything is properly aligned and functioning. First, check your mounting options to confirm the projector is securely positioned at the right height and angle. Use a level or laser guide if needed. Next, evaluate ambient light conditions; dim or control light sources to prevent glare and washout, which can distort the picture. Turn on the projector and project a test image or pattern. Adjust the focus and keystone settings, ensuring the image is sharp and rectangular. Walk around the viewing area to see if the picture remains consistent from different angles. Confirm the size and placement match your desired screen size, and make small tweaks until the picture is clear, aligned, and free of distortions.
Troubleshooting Persistent Image Issues and Next Steps
When persistent image issues occur despite proper setup, it’s important to troubleshoot systematically to identify the root cause. Start by examining your mounting options and verify the projector is securely installed, whether on the ceiling or a sturdy surface. Next, check the ceiling installation for alignment and stability. Then, verify the projector’s keystone correction and focus settings. Finally, inspect the input connections for loose or damaged cables.
Systematic troubleshooting ensures optimal projector performance despite persistent image issues.
To resolve issues:
- Reassess your ceiling installation for proper placement.
- Adjust mounting options to achieve ideal alignment.
- Fine-tune keystone correction and focus.
- Replace or secure loose input cables.
Following these steps helps you resolve persistent image problems efficiently and guarantees your projector operates at its best.
Frequently Asked Questions
What Are the Safety Considerations When Installing a UST Projector?
When installing a UST projector, you should focus on safety by securing it properly with ceiling mounting to prevent falls. Make certain cable management is neat and safe, avoiding tripping hazards or damage to wires. Double-check that the mounting is sturdy and can support the projector’s weight. Keep power sources away from liquids, and follow manufacturer instructions to avoid electrical issues. Always prioritize safety to protect yourself and your equipment.
How Do Ambient Light Conditions Affect Projector Placement Choices?
Imagine watching a movie in a brightly lit room; ambient light can wash out your display, so you should place your UST projector closer to the screen to maximize brightness and contrast. Bright ambient light diminishes image quality, so choosing a location with controlled lighting or using higher brightness settings is essential. Adjust your projector placement to minimize ambient light interference, ensuring a clear, vibrant picture even in challenging lighting conditions.
Can Wall Decorations or Furniture Impact Image Quality?
Wall art and furniture placement can substantially impact your projector image quality. If wall art is directly behind the projected image, it can cause glare or distortions. Similarly, cluttered or mismatched furniture near the projection area may cast shadows or create uneven surfaces, affecting clarity. To guarantee a sharp picture, keep the area clear, avoid reflective surfaces, and position furniture away from the projector’s line of sight.
How Often Should I Recalibrate My Projector’s Alignment?
Like tuning a vintage radio, you should recalibrate your projector’s alignment regularly—about once every few months or whenever you notice image distortions. Frequent calibration ensures peak picture quality and prevents alignment adjustments from drifting over time. If you move your projector or change the setup environment, it’s wise to check calibration frequency and make necessary alignment adjustments to keep your display sharp and vibrant.
Are There Specific Room Layouts That Work Best With UST Projectors?
You’ll get the best results with UST projectors in rooms with ample space and minimal clutter. Ceiling mounting is ideal, as it keeps the projector stable and aligned, while wall mounting can work if you have a dedicated, unobstructed wall. Avoid tight spaces or rooms with lots of furniture close to the projection area. Proper placement guarantees sharp images and reduces the need for frequent adjustments.
Conclusion
Think of your UST projector as a delicate instrument—you’ll get the best performance when you place it just right. I once struggled with a dim, blurry image until I realized a few adjustments made all the difference. Proper placement isn’t just a rule; it’s the secret ingredient to vivid, sharp images. Take your time, test your setup, and treat your projector like a trusted friend—when aligned perfectly, it’ll deliver picture-perfect moments every time.