
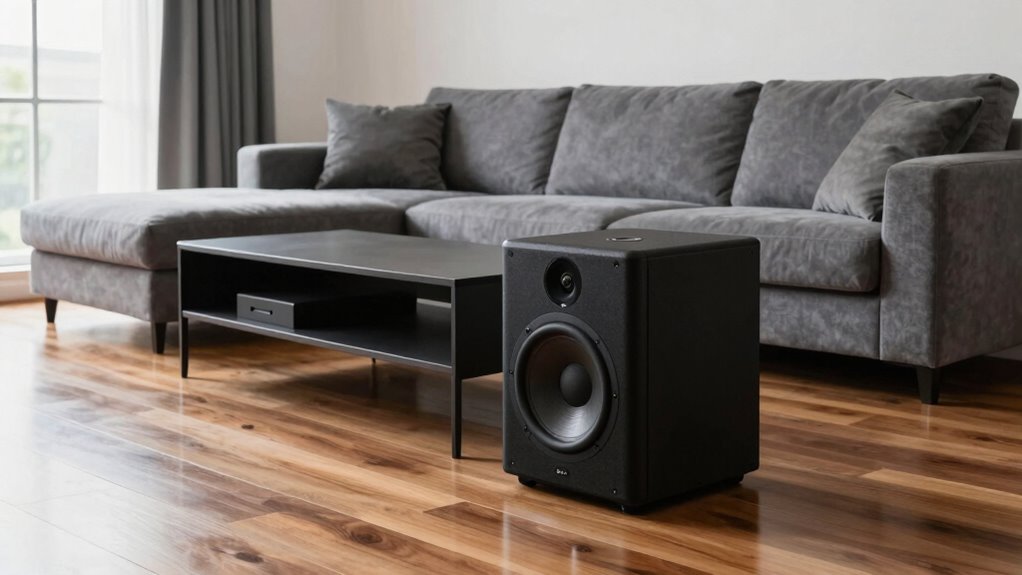
To fix boomy bass quickly, start by placing your subwoofer in different spots, avoiding walls or corners that cause exaggerated sounds. Use the 10-minute test to listen for boominess, muddiness, or distortion, and adjust accordingly. Aim for tight, clear bass that integrates seamlessly with your room. Small tweaks in position can make a big difference. For step-by-step guidance on these adjustments and more tips, keep exploring how to perfect your subwoofer setup.
Key Takeaways
- Test multiple subwoofer positions, listening for tight, well-defined bass with minimal boominess or muddiness.
- Avoid placing the sub too close to walls or in corners to prevent exaggerated, boomy sound.
- Clear the area around the subwoofer and minimize reflections for accurate sound testing.
- Make small adjustments in placement, listening carefully to find the spot with the clearest, fullest bass.
- Fine-tune settings like crossover and phase after placement to enhance bass clarity and prevent resonance issues.
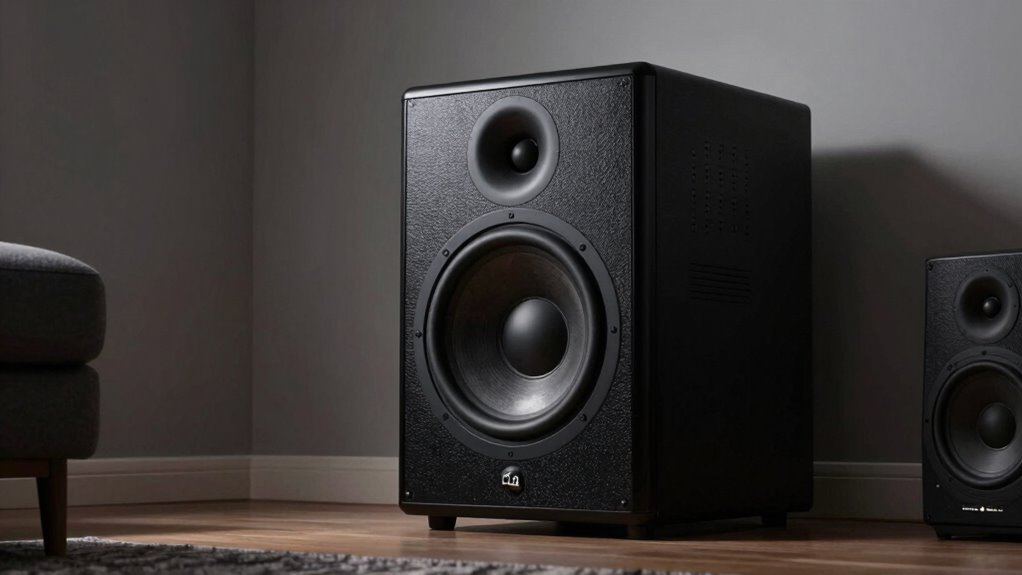
Why Does Proper Subwoofer Placement Matter for Great Bass?
Proper subwoofer placement is essential because it directly affects how well you experience deep, powerful bass. When your subwoofer is positioned correctly, it works with your room acoustics to produce a balanced, immersive sound. Poor placement can cause boomy or uneven bass, making music and movies less enjoyable. Additionally, it impacts speaker calibration, as an improperly placed subwoofer can throw off your system’s sound harmony. By finding the right spot, you ensure that bass waves blend seamlessly with your main speakers, reducing muddiness and resonance. Taking the time to contemplate placement helps your subwoofer deliver tight, accurate bass. Understanding room acoustics can help you make better placement decisions. This simple step makes a noticeable difference in your overall listening experience, transforming boomy sound into rich, deep lows you’ll love. Proper placement also minimizes sound distortion, ensuring clarity and depth in your audio. Being aware of subwoofer positioning can further optimize your setup for the best results. Recognizing the influence of speaker calibration allows you to fine-tune your system for even more precise sound. Additionally, considering insulated jackets for winter can help protect your equipment from cold temperatures that may affect performance.
How to Prepare Your Room for the 10-Minute Subwoofer Placement Test
Before you start the 10-minute subwoofer placement test, it’s important to prepare your room for ideal results. First, optimize your room acoustics by minimizing reflections with furniture, rugs, or acoustic panels, which help prevent boomy bass. Second, set your subwoofer at the appropriate height—ideally close to ear level when seated—to ensure accurate sound reproduction. Third, clear the area around the subwoofer, removing objects that could interfere with sound dispersion or create unwanted resonances. Additionally, consider Free Floating techniques to further improve sound clarity by reducing vibrations and disturbances. Using Indoor Air Quality gear like air filters can also help create a more comfortable listening environment by reducing dust and allergens that could affect your equipment. Proper room acoustics and environment control are essential for accurately assessing subwoofer placement. Incorporating vibration isolation measures can further prevent unwanted resonances and enhance sound quality. Implementing these sound treatment strategies can significantly improve your listening experience. Proper room preparation helps your subwoofer perform at its best, making the subsequent placement test quick and effective.
How to Do the Quick 10-Minute Subwoofer Placement Test
To get the best bass, start by preparing your space and clearing any obstacles. Test different spots around the room to find where the subwoofer sounds the clearest and fullest. Once you identify the prime location, make small adjustments until the sound feels just right. Additionally, consider subwoofer placement techniques that can enhance overall sound quality. Remember that room acoustics can also significantly impact sound performance, so optimizing your environment can lead to even better results. Incorporating soundproofing methods can further reduce unwanted noise interference and improve audio clarity. Using smart placement strategies can help you achieve consistent, high-quality bass throughout your listening area. For optimal performance, experiment with speaker positioning to further refine your sound experience.
Prepare Your Space
Setting up your space quickly and effectively is key to finding the best spot for your subwoofer. First, consider your room acoustics, as they influence how bass travels and resonates. Second, evaluate furniture placement; bulky furniture can absorb or reflect sound, impacting bass response. Third, clear the area around your subwoofer to avoid obstructions that could distort sound quality. By doing this, you create a more controlled environment, making your quick 10-minute test more accurate. Keep in mind that room acoustics and furniture placement shape how bass behaves in your space. Making these adjustments ensures your subwoofer’s position will deliver balanced, booming bass without unnecessary boominess or dead spots. This preparation sets the stage for an effective placement test. Additionally, understanding sound vibrations can help you optimize your subwoofer placement further for richer bass. Paying attention to sound reflections can also improve your overall sound experience by minimizing unwanted echoes and standing waves. Properly managing sound absorption in your room can further enhance bass clarity and prevent muddiness. Incorporating simple DIY acoustic treatments can make a noticeable difference in your sound quality and help you achieve optimal bass response.
Test Different Spots
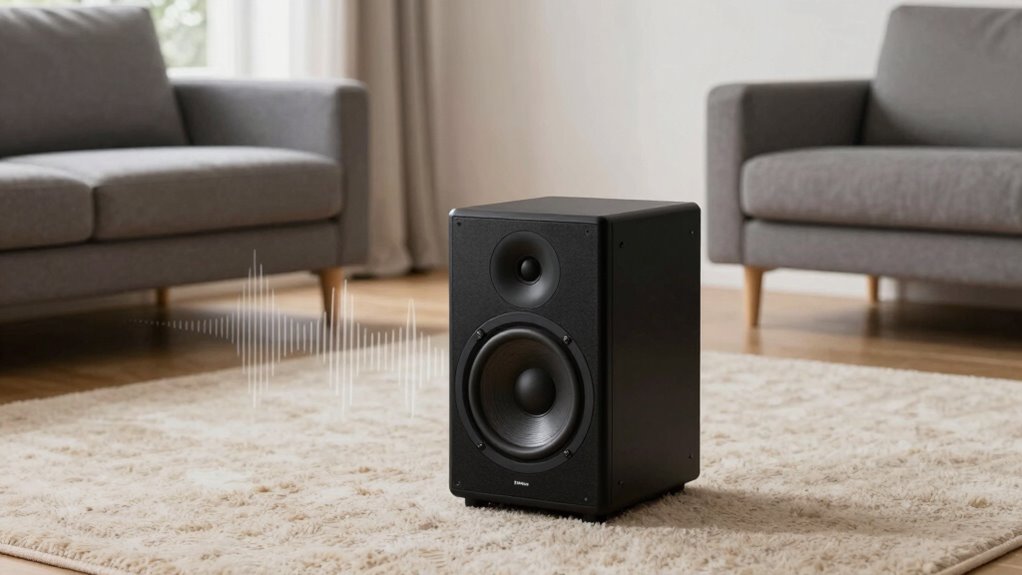
Start by placing your subwoofer in a spot that seems promising based on your earlier preparations. To find the best position, consider your room acoustics and how sound waves bounce around your space. Move the subwoofer gradually to different locations, listening carefully as you go. Pay attention to how the bass feels and sounds in each spot, especially in the main listening area. Remember, speaker placement influences bass quality; some spots may cause boomy or weak bass due to reflections or nulls. Use your ears to identify where the bass is tight and balanced. This quick test helps you discover the best spot where your subwoofer integrates seamlessly with your room’s acoustics, giving you a solid foundation for better overall sound. Additionally, understanding how room acoustics affect bass response can help you make more informed placement decisions. Keep in mind that speaker placement plays a crucial role in achieving optimal bass performance; even small adjustments can make a significant difference. Recognizing how room reflections influence sound can further refine your placement choices. Exploring subwoofer positioning strategies can also enhance your ability to fine-tune your setup for the best bass experience. For example, experimenting with speaker isolation techniques can reduce unwanted vibrations and improve sound clarity.
Adjust for Best Sound
Once you’ve identified a promising spot for your subwoofer, it’s time to fine-tune its placement for peak sound. Adjusting for best sound involves considering room acoustics and speaker matching. First, listen carefully to the bass response: if it’s boomy or muddy, try repositioning slightly. Second, make small adjustments, like moving the sub closer to or farther from walls, to reduce unwanted resonances. Third, ensure your subwoofer complements your main speakers; mismatched speakers can cause uneven bass. By focusing on these three steps, you optimize room acoustics and achieve a balanced, tight bass. Remember, the goal is seamless integration—your subwoofer should blend effortlessly with your speakers, providing rich sound without overpowering or gaps.
What Should You Listen for During the Test? Spotting Boominess and Muddy Bass

When testing your subwoofer, pay close attention to the sound quality as you listen through familiar music or audio tracks. Focus on the bass frequency to detect boominess or muddiness. Boominess often sounds like a low, resonant echo that overshadows clear bass notes, indicating too much room acoustics influence or poor placement. Muddy bass, on the other hand, feels thick and indistinct, with no clear definition between different bass notes. Listen for any boomy or overwhelming sounds that distort the overall audio clarity. Adjust your subwoofer’s position until these issues diminish, aiming for tight, well-defined bass that complements your room acoustics without overpowering or muddling the sound. This simple test helps you identify problem areas quickly.
How to Interpret Your Test Results and Find the Best Subwoofer Spot
Interpreting your test results is key to finding the best spot for your subwoofer because it reveals how room acoustics and placement affect sound quality. Look for areas where bass sounds balanced, punchy, and free of boominess. Use these insights to guide your decision:
- Identify spots with minimal acoustic reflections to prevent muddy bass.
- Choose locations that blend well with your decor for seamless integration.
- Consider cable management to keep cables hidden and prevent tripping hazards.
How to Fine-Tune Your Subwoofer for Better Bass After the Test
Once you’ve found the ideal spot for your subwoofer, it’s time to fine-tune it for even better bass. Start by adjusting the crossover settings to blend smoothly with your main speakers, ensuring a balanced sound. Next, optimize the phase alignment to eliminate any bass nulls or peaks, giving you a richer, more consistent low end.
Adjust Crossover Settings
Adjusting your crossover settings is a crucial step in fine-tuning your subwoofer for ideal bass performance. Proper frequency adjustment ensures your subwoofer blends seamlessly with your main speakers, preventing boomy or hollow sound. To optimize this:
- Start with the crossover set around 80 Hz; adjust higher if your main speakers handle more bass.
- Listen carefully as you tweak the frequency adjustment, aiming for smooth transitions without overlaps or gaps.
- Keep in mind that too low a setting can cut off bass, while too high can muddy the sound.
Optimize Phase Alignment
To achieve the best bass response, you need to fine-tune your subwoofer’s phase alignment so it works seamlessly with your main speakers. Proper speaker synchronization ensures that the subwoofer’s sound waves blend smoothly with your speakers, preventing boomy or hollow bass. Start by adjusting the phase control on your subwoofer, usually a dial or switch labeled “phase” or “phase adjustment.” Move it slowly while listening for a moment when bass sounds tight and cohesive. Use test tones or music with deep bass to gauge improvements. When the phase is correctly aligned, the subwoofer and speakers will produce a unified, punchy sound without cancelation or reinforcement issues. Fine-tuning phase alignment is essential for achieving a balanced, natural bass experience.
Common Mistakes to Avoid When Positioning Your Subwoofer
Many people make the mistake of placing their subwoofer in a corner or against a wall without considering how it affects sound quality. This is a common placement pitfall that often leads to boomy or uneven bass. Avoid falling for positioning myths, like thinking the subwoofer must be directly against the wall for best sound. Instead, focus on these key points:
- Placing the subwoofer too close to walls can create exaggerated bass, causing boominess.
- Positioning it too far from listening areas may reduce impact.
- Relying solely on corners for placement can lead to muddiness and lack of clarity.
Other Techniques to Improve Your Subwoofer’s Sound Quality
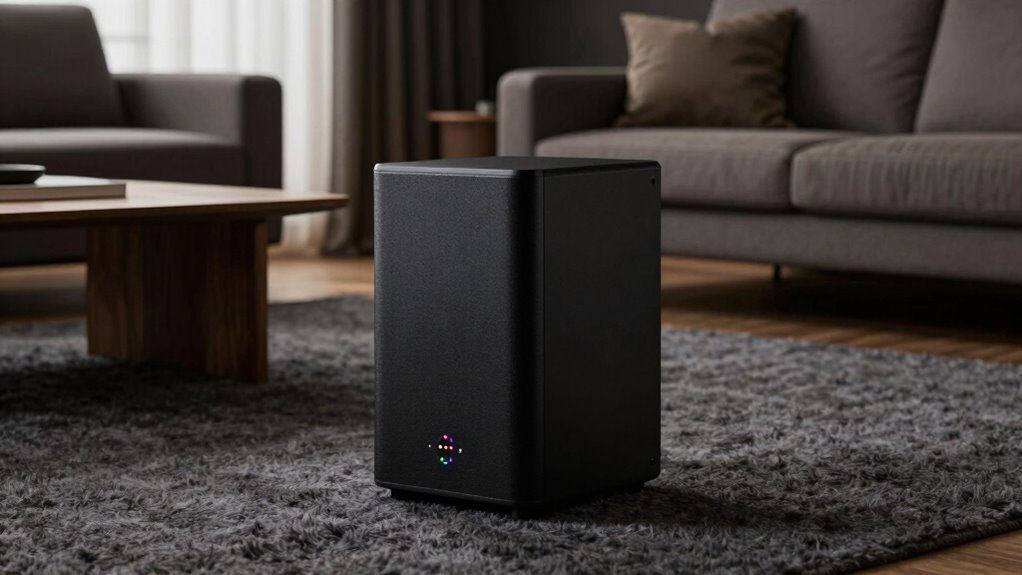
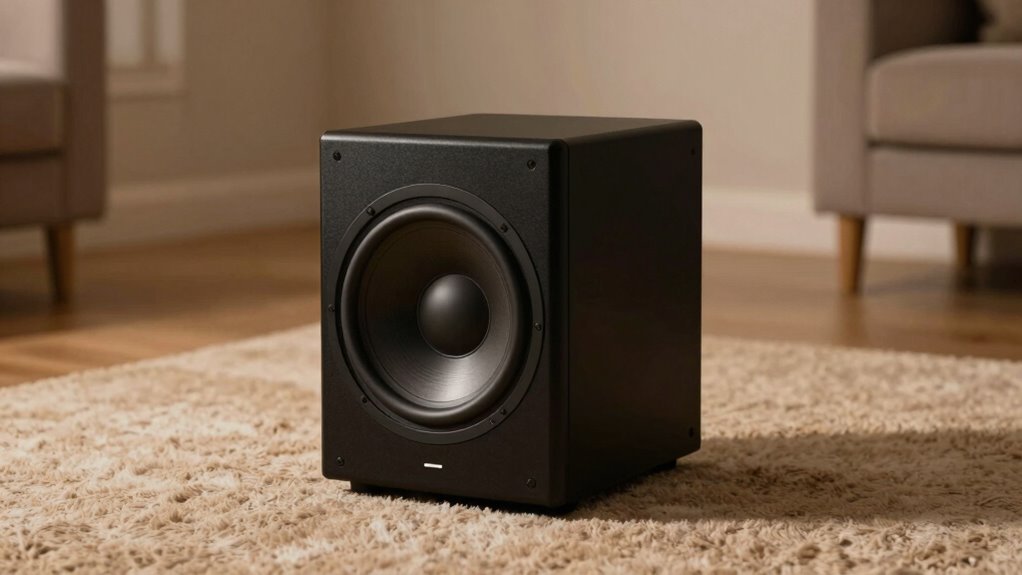
Enhancing your subwoofer’s sound quality involves more than just placement; you can also fine-tune its settings and use additional equipment to achieve better bass performance. Adjusting the volume, crossover, and phase settings helps optimize sound output. Consider the subwoofer material, as it influences durability and sound characteristics—wood cabinets often produce warmer bass, while composite materials may offer tighter response. Additionally, subwoofer aesthetics matter if you want your setup to blend seamlessly with your room decor. Choosing a design and finish that complements your space ensures the subwoofer looks as good as it sounds. These tweaks can improve sound clarity, reduce boomy bass, and create a more immersive listening experience, all without moving your subwoofer from its current position.
When Should You Seek Professional Help or Use Advanced Calibration?
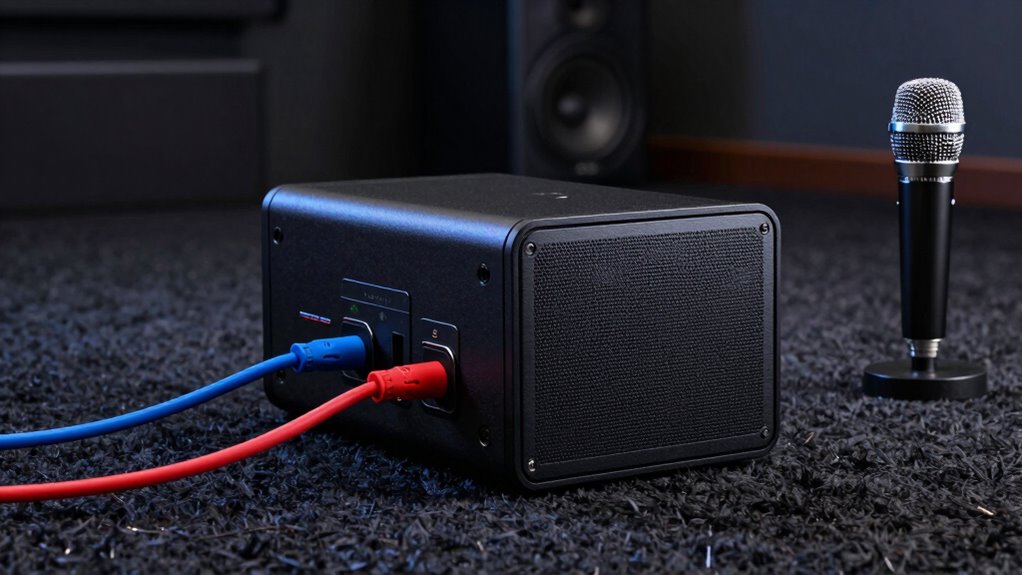
Sometimes, despite your best efforts with placement and calibration, you might notice persistent issues like uneven bass response, rattling, or distortion that simple tweaks can’t fix. When this happens, it’s time to consider professional calibration or advanced tools. You should seek help if:
- The bass still sounds unbalanced across different listening positions.
- Rattling or distortion persists despite adjustments.
- You want precise tuning that calibration software alone can’t achieve.
Professional calibration uses advanced tools like room analyzers and DSP (digital signal processing) to optimize your subwoofer’s performance. If these issues continue, investing in expert help ensures your subwoofer sounds its best, avoiding frustration and further damage. Sometimes, professional intervention is the most effective way to fix persistent sound problems.
Frequently Asked Questions
Can Furniture Placement Affect Subwoofer Sound Quality?
Furniture influence definitely affects your subwoofer’s sound quality. Large pieces can block or absorb sound waves, causing uneven bass or muffled audio. They also create acoustic reflections that interfere with clear sound. By adjusting your furniture placement, you can reduce unwanted reflections and improve bass response. Experiment with moving furniture away from the subwoofer to achieve a cleaner, more balanced sound that fills your space better.
Is It Necessary to Recalibrate After Moving the Subwoofer?
Yes, you should recalibrate your system after moving the subwoofer. Moving it can alter the sound, so use calibration techniques like a sound level meter or room correction software to adjust audio equalization. This guarantees smooth bass response and balanced sound across your space. Proper recalibration helps maintain ideal audio quality, preventing boomy or uneven bass, and makes sure your listening experience remains immersive and clear.
How Often Should I Perform the 10-Minute Test?
You should perform the 10-minute test whenever you notice changes in your sound quality or after relocating your subwoofer, ensuring ideal subwoofer isolation and soundproofing techniques. Regularly doing this helps keep your bass smooth and controlled, avoiding boomy or muddy sound. Think of it as a quick tune-up—no need to overdo it. Just a brief check-in keeps your setup balanced and your listening experience delightful.
Does Room Size Impact Subwoofer Placement Strategies?
Room size definitely impacts your subwoofer placement strategies. Larger rooms can disperse sound more evenly, so you might need to experiment with placement to optimize room acoustics. Smaller spaces require careful subwoofer isolation to prevent boomy bass, making precise positioning critical. Always test different spots, considering how room dimensions influence sound reflection and absorption, ensuring your subwoofer delivers balanced bass without overwhelming the space.
Can Multiple Subwoofers Help Reduce Bass Boominess?
Using dual subwoofers can markedly reduce bass boominess through bass cancellation. When placed correctly, they help smooth out uneven bass response by canceling out problematic frequencies. You should position your subwoofers at different points in the room and test the sound. This setup creates a more balanced, tight bass and minimizes boominess, giving you a clearer, more accurate listening experience.
Conclusion
By following this quick test, you’ll open the true potential of your subwoofer and enjoy punchy, clear bass without the boominess. Don’t be afraid to experiment and trust your ears—sometimes, a little tweaking goes a long way. Remember, Rome wasn’t built in a day, so be patient and persistent. With a bit of effort, you’ll turn your listening space into a bass haven that truly rocks your world.